Save to Pinterest
 There's something about the smell of butter melting in the mixer that instantly transports me back to my grandmother's kitchen on Sunday afternoons. She'd let me sit on the counter with my legs swinging, watching the paddle transform golden butter and sugar into something cloud-like and promising. Years later, I realized she was teaching me one of the most reliable recipes in existence—one that never fails, never disappoints, and somehow tastes like comfort regardless of the occasion.
I made these for the first time when I was stressed about a dinner party, convinced I needed something showstopping. My friend walked in while I was pulling them from the oven, the kitchen warm and golden, and she grabbed one straight from the cooling rack—burning her fingers a little but grinning anyway. That's when I understood: these cookies don't need fancy names or complicated techniques. They just need to exist.
Ingredients
- Unsalted butter, softened: This is the star of the show, so use good butter if you can. Softened means it should give slightly when you press it, not melting at room temperature.
- Granulated sugar: The texture of the cookies depends on creaming this properly with the butter, so don't skip this step or rush it.
- Egg and vanilla extract: These add moisture and flavor without making the dough tough, but bring them to room temperature first—cold eggs won't mix in smoothly.
- All-purpose flour, baking powder, and sea salt: The baking powder helps them spread evenly, and the salt actually makes the butter flavor pop in a way people can't quite identify.
Tired of Takeout? 🥡
Get 10 meals you can make faster than delivery arrives. Seriously.
One email. No spam. Unsubscribe anytime.
Instructions
- Cream the butter and sugar:
- Beat them together until the mixture looks pale and fluffy, like wet sand mixed with clouds. This usually takes about 2-3 minutes with an electric mixer, and you'll know it's done when it doubles in volume and feels light when you lift the paddle.
- Add the egg and vanilla:
- Pour them in slowly while the mixer runs, watching as the dough becomes glossy and smooth. If you add them too quickly, the mixture might look broken at first, but keep beating and it will come together.
- Mix in the dry ingredients:
- Whisk the flour, baking powder, and salt together first so they're evenly distributed, then add them gradually to the wet mixture. Stop mixing as soon as you don't see any white streaks of flour—overmixing develops gluten and makes the cookies tough instead of tender.
- Chill the dough:
- Divide it in half, flatten into disks, wrap tightly, and refrigerate for at least an hour. This is worth the wait because cold dough spreads less and stays tender.
- Roll and cut:
- On a lightly floured surface, roll one disk at a time to about 1/4-inch thick. Use your favorite cookie cutters, working quickly so the dough doesn't warm up too much.
- Bake until golden:
- Space them about an inch apart on parchment-lined sheets and bake at 350°F for 10-12 minutes. You're looking for the edges to turn light golden—the centers might look slightly underbaked, but they'll firm up as they cool.
- Cool and decorate:
- Let them sit on the baking sheet for 5 minutes to set, then move to a wire rack to cool completely. Once cool, decorate with royal icing, glaze, or leave them plain—they're beautiful either way.
 Save to Pinterest
 I remember my daughter asking if we could make these the night before her school bake sale, and we ended up decorating them together at midnight with leftover royal icing and whatever sprinkles we could find in the pantry. She was so proud the next morning, and honestly, so was I—not because they were perfect, but because they were made together in that quiet, unhurried way that actually matters.
Why Butter Quality Makes a Difference
The first time I used premium butter instead of generic, I noticed the cookies had a deeper, almost nutty flavor that lingered. It's not that cheaper butter makes bad cookies, but good butter tastes noticeably better. If you're going to make something that's 90% butter, it's worth choosing butter you'd actually want to eat on toast.
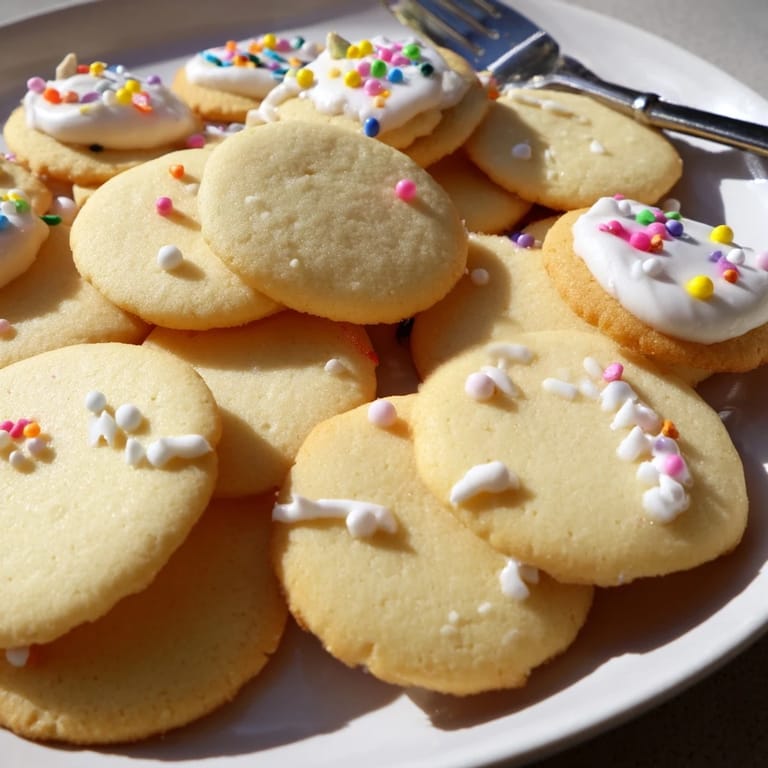
Decorating Without Pressure
The beauty of these cookies is that they're equally stunning plain or elaborately decorated. I've served them both ways, and honestly, sometimes the plainest cookies in a stack get eaten first because people can taste the butter without any distraction. If you do decorate, let the icing dry completely before stacking them, or they'll stick together and crack when you try to separate them—a lesson learned through trial and error.
Make-Ahead Magic and Storage
One of the best-kept secrets about this recipe is that the dough freezes beautifully, which means you can make a batch weeks ahead and bake fresh cookies whenever you want. I like to keep disks of dough in my freezer for moments when I need something warm and buttery without the commitment of a full baking project. You can also bake them completely and store them in an airtight container for up to a week, though they rarely last that long.
- Wrap dough disks tightly in plastic wrap and freeze for up to one month; thaw slightly before rolling if they're too hard to work with.
- Store baked cookies in an airtight container at room temperature, with parchment paper between layers if you've decorated them.
- If they do soften during storage, a few minutes in a 300°F oven will crisp them back up.
 Save to Pinterest
 These cookies have shown up at bake sales, holiday parties, and quiet afternoons when someone just needed something simple and good. They're the kind of recipe that teaches you more about baking fundamentals than any fancy technique ever could.
Recipe FAQs
- → How do I get the cookies tender and crisp?
Using softened butter creamed with sugar creates a tender texture, while chilling the dough before baking helps maintain crisp edges.
- → Can I add flavors other than vanilla?
Yes, alternative extracts like almond or lemon zest can be incorporated for different flavor profiles.
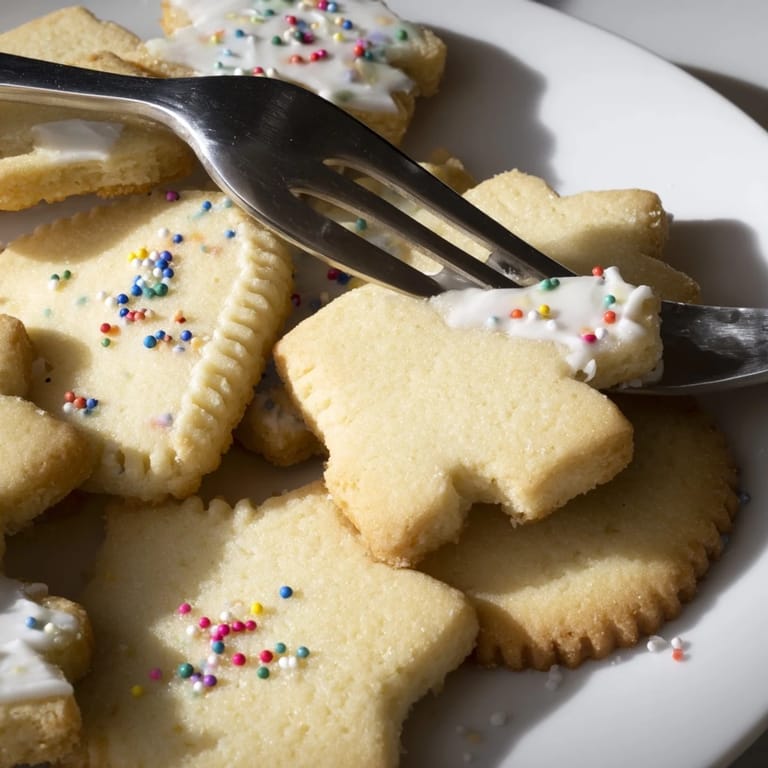
- → What's the best way to decorate these cookies?
After cooling completely, decorate with royal icing, glaze, and sprinkles for a festive touch.
- → Can the dough be prepared in advance?
Absolutely, the dough can be refrigerated up to 3 days or frozen for up to a month before baking.
- → How to make a chocolate variation?
Replace a quarter cup of flour with cocoa powder to add rich chocolate flavor to the dough.