 Save to Pinterest
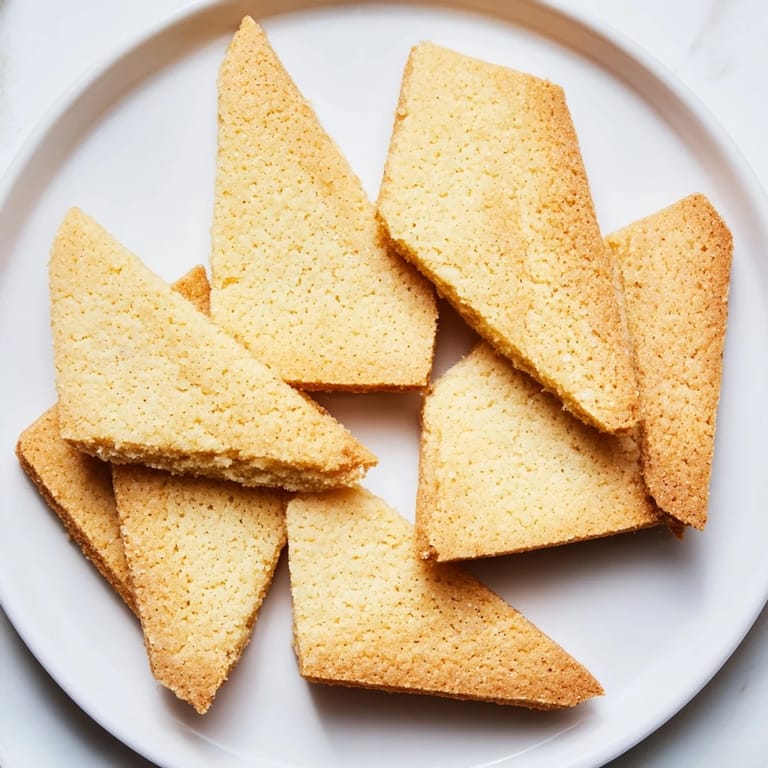
 My grandmother kept a blue tin of shortbread on her kitchen counter, and I swear it never emptied because she baked a fresh batch every Thursday like clockwork. When I finally asked for her recipe years later, I expected some complicated family secret, but it was just butter, sugar, flour, and cornstarch—simple enough that I made my first batch the same afternoon. What surprised me was how the magic wasn't in fancy ingredients but in the restraint: knowing exactly when to stop mixing, exactly when to pull them from the oven, and trusting that melt-in-your-mouth texture would arrive all on its own.
I made these for my neighbor during a rough stretch, and she cried a little when she bit into one—not because they were fancy, but because they tasted like someone had taken the time. That's when I learned that shortbread isn't really about technique; it's about showing up with something warm and tender when it matters.
Ingredients
- Unsalted butter (1 cup / 225 g), softened: This is where the flavor lives—use good butter and let it sit out until it's genuinely soft, not just cold-ish. Room temperature butter creams properly, which gives you that light, fluffy base that the whole cookie depends on.
- Granulated sugar (½ cup / 100 g): The restraint here is deliberate; you're not making these sweet, you're making them rich, so the butter shines through.
- All-purpose flour (2 cups / 240 g): Measure by weight if you can; it's more forgiving that way.
- Cornstarch (¼ cup / 30 g): This is the secret weapon that gives shortbread its tender, almost sandy texture instead of tough and chewy.
- Fine sea salt (¼ tsp): Don't skip this tiny amount—it wakes up the butter flavor and makes everything taste more like itself.
Tired of Takeout? 🥡
Get 10 meals you can make faster than delivery arrives. Seriously.
One email. No spam. Unsubscribe anytime.
Instructions
- Get your oven ready:
- Preheat to 325°F (160°C) and line a baking sheet with parchment paper, or have your 8x8-inch pan ready. Lower heat is important here because you want gentle, even baking that keeps the cookies pale and tender.
- Cream the butter and sugar:
- Beat them together in a large bowl until the mixture looks light and fluffy—this usually takes 3–5 minutes with an electric mixer, or about 10 if you're using a wooden spoon and some elbow grease. You're adding air into the butter, which helps the cookies have that delicate crumb.
- Bring the dry ingredients together:
- Sift the flour, cornstarch, and salt into the bowl. Mix gently with a wooden spoon or spatula until the dough just barely comes together—this is the moment where overworking ruins everything, so stop as soon as you don't see dry flour anymore.
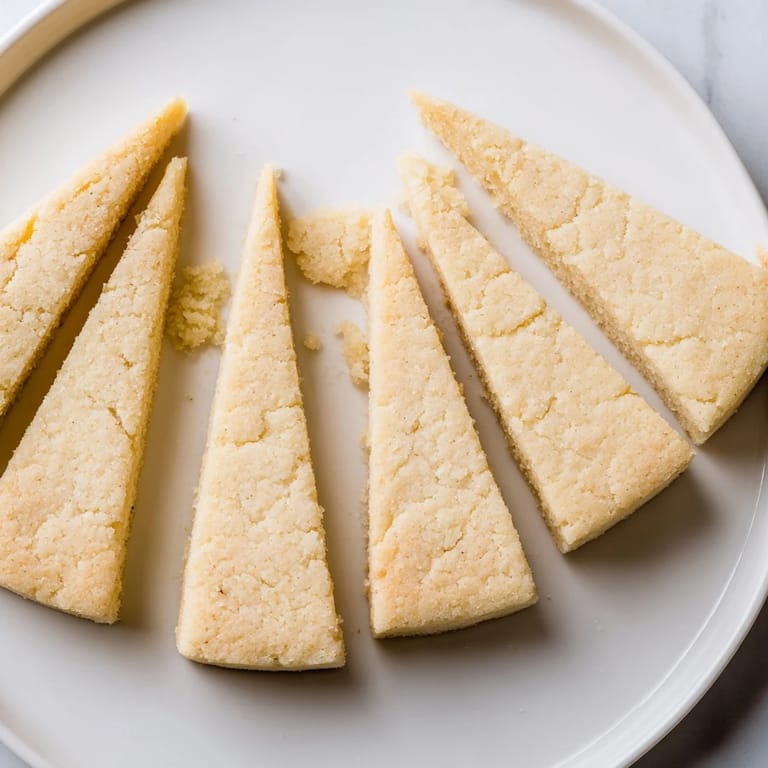
- Shape and score:
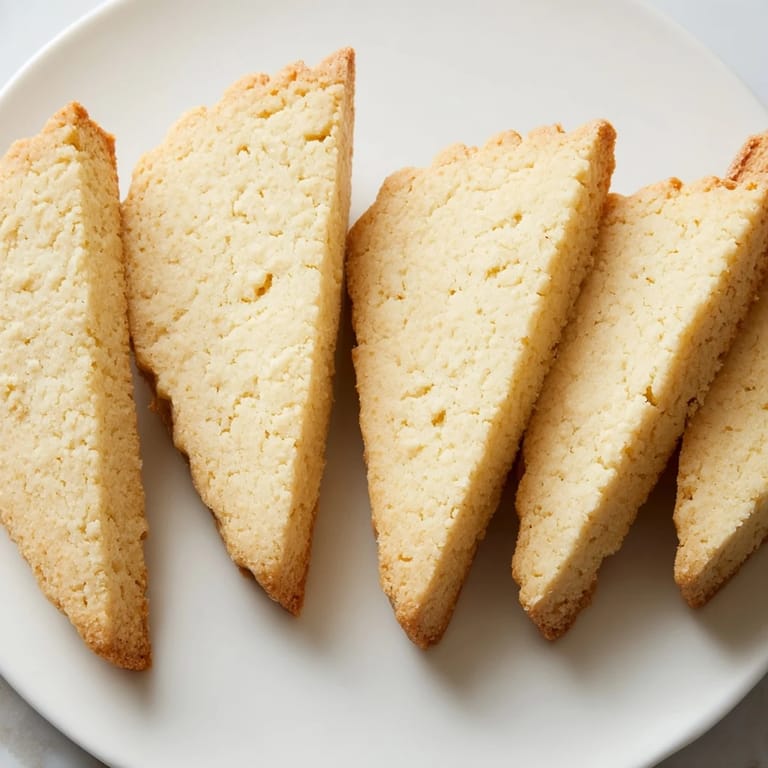
- Press the dough into your pan in an even layer, or if using a baking sheet, shape it into a ½-inch thick rectangle. Score it with a sharp knife into wedges or fingers, then prick each piece lightly with a fork for a classic texture.
- Bake slowly and watch the edges:
- Bake for 22–25 minutes until the edges are just barely golden—they should still look almost pale in the center. This is where patience pays off; underbaked is better than overbaked because they'll harden a bit as they cool.
- Cool and cut with intention:
- Let them sit in the pan for 5 minutes so they set just enough, then cut along your scored lines with a sharp knife while still slightly warm. This makes cutting clean and keeps the edges from crumbling.
 Save to Pinterest
 There's a moment right after they cool, when you break one in half and see that sandy, crumbly interior with the slight resistance before it melts, where you understand why my grandmother made them every Thursday. They're not complicated, but they're honest—and that simplicity is exactly what makes them special.
Variations to Make Them Your Own
Once you've made these plain, you'll start seeing endless possibilities. Add 1 teaspoon of finely grated lemon or orange zest to the dough for brightness, or a few tablespoons of melted chocolate drizzled over the cooled cookies if you want richness. Some people dip the whole bottom in chocolate, others press a tiny piece of jam into the center before baking, and I've even seen them topped with fleur de sel for contrast.
Storing and Gifting
Keep them in an airtight container and they'll stay crisp for up to a week, though they rarely last that long. They also travel well, which makes them ideal for gift-giving—stack them in a pretty box with parchment paper between the layers, and you've got something that feels handmade and thoughtful without requiring technical skill.
The Ritual of Making Them
There's something calming about this recipe: the gentle creaming of butter, the soft mixing, the waiting while they bake. It's the kind of baking that doesn't demand your constant attention, so you can chat, think, or just be present in the kitchen without stress.
- Make these when you need something to settle your mind, not when you're rushing.
- Use an oven thermometer if you have one, because ovens lie, and temperature matters more here than in most cookies.
- Eat them fresh with tea or coffee, and save the ritual of making them for when you need to slow down.
 Save to Pinterest
 This recipe is one you'll return to again and again, and each time you'll understand a little better why the simple things, made with intention, are often the ones people remember most. Make a batch, share them, and let someone else have their own shortbread moment.
Recipe FAQs
- → What gives shortbread its crumbly texture?
The high butter content and careful handling of dough result in a tender, crumbly texture by inhibiting gluten development and creating a delicate crumb.
- → Can I add flavors to the dough?
Yes, adding grated citrus zest like lemon or orange enhances brightness, while dipping in melted chocolate adds richness and contrast.
- → How do I prevent shortbread from browning too much?
Bake at a moderate temperature (around 325°F/160°C) and remove when edges just turn pale golden to keep color and texture ideal.
- → What is the purpose of scoring the dough before baking?
Scoring the dough allows for easy portioning after baking and helps portions hold their shape during cooking.
- → How should I store shortbread after baking?
Store cooled shortbread in an airtight container to maintain freshness and prevent moisture buildup for up to one week.