 Save to Pinterest
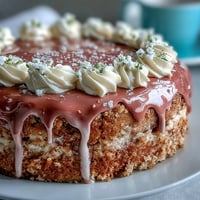
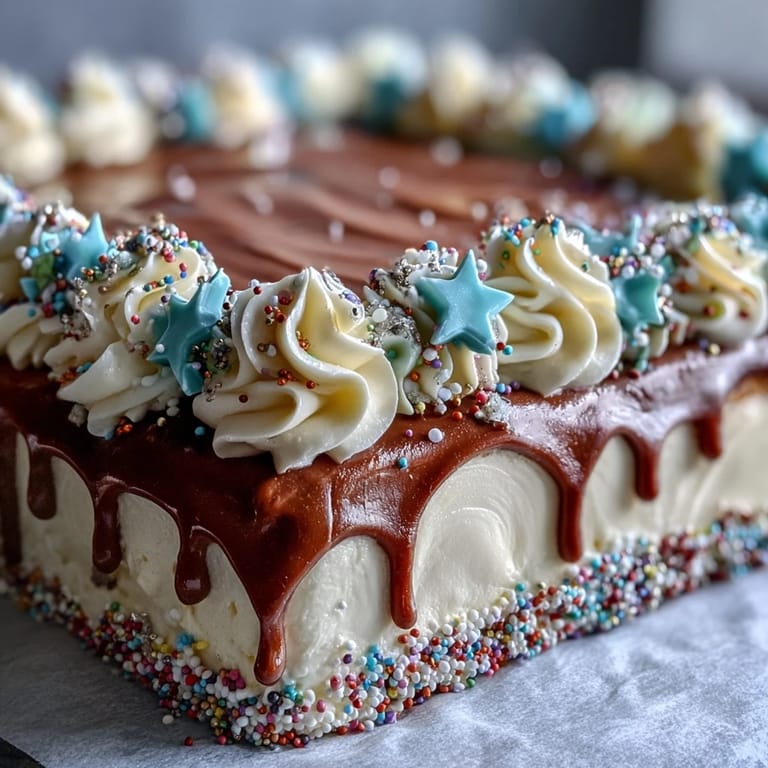
 An hour before my cousin’s graduation party, the kitchen buzzed with banners waiting to be hung and laughter spilling in from the yard. Flour dusting my sleeves, I tried not to smear frosting on my shirt as I leveled the sheet cake. Somehow, piping out “Class of 2026” felt like less of a chore and more of a celebration in itself. The gentle vanilla scent clung to everything, reminding me that the most memorable desserts are the ones made to mark a milestone. When sunlight hit the buttercream, every color popped, and suddenly the cake was the centerpiece of the day.
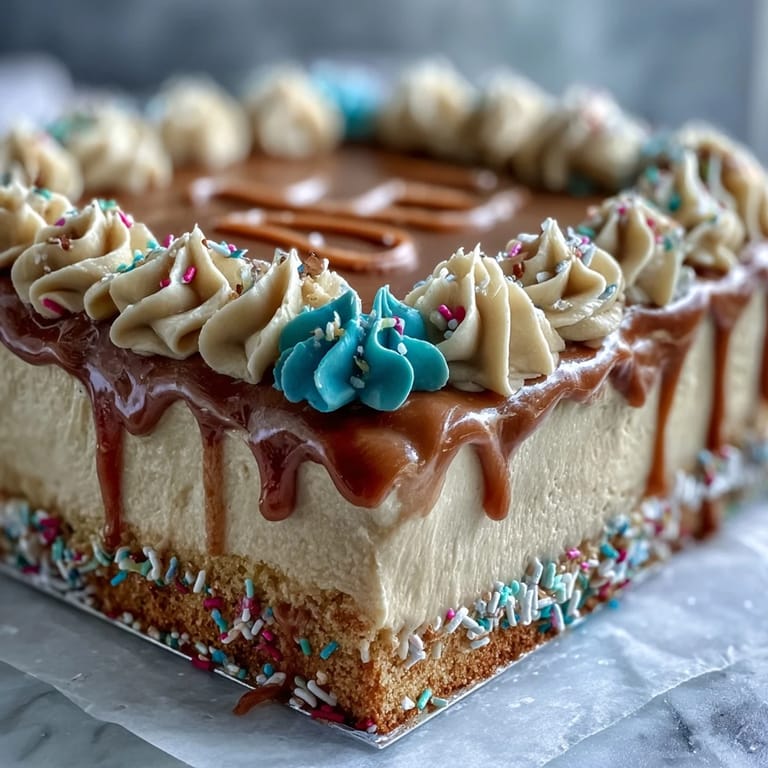
The first time I brought this cake out, my little brother circled the table, fingers itching to swipe frosting off a piped border. He waited just long enough for the cameras, then made it his mission to eat the “2” in 2026 before anyone else. That moment, everyone laughing as he sheepishly grinned with blue lips, convinced me that no store-bought cake could come close to the fun of homemade.
Ingredients
- All-purpose flour: Sift it if you can—making sure your batter stays airy, which helps the crumb stay soft.
- Baking powder: Always level your spoon and check the date for a reliable rise every time you bake.
- Salt: A small pinch, but a total flavor booster you won’t want to skip.
- Unsalted butter: Room temperature is key—start with cold butter and your batter will be lumpy.
- Granulated sugar: Creaming it thoroughly with the butter gives this cake its signature tender bite.
- Eggs: Bring them to room temp; that extra step means they mix smoothly for an even texture.
- Vanilla extract: The heart of the cake’s flavor—use real extract if you can.
- Whole milk: Adds richness and keeps the crumb moist; don’t substitute with water for this one.
- Powdered sugar: Sifting prevents lumps and makes buttercream extra smooth.
- Food coloring: Gel types keep the frosting thick and vibrant, especially for detailed piping.
- Sprinkles or edible glitter: Optional, but a fun way to match your colors to the celebration.
Tired of Takeout? 🥡
Get 10 meals you can make faster than delivery arrives. Seriously.
One email. No spam. Unsubscribe anytime.
Instructions
- Set the stage:
- Preheat the oven to 350°F and line a 13x18-inch pan with parchment, letting a little hang over for easy cake lifting later.
- Mix dry ingredients:
- Whisk together flour, baking powder, and salt; the gentle sound signals you’re almost ready for the good stuff.
- Beat butter and sugar:
- Cream the butter and sugar until pale and fluffy, taking a moment to notice the way the mixture smells buttery and sweet.
- Add eggs and vanilla:
- Crack in eggs one at a time, beating well after each, and add vanilla—don’t rush, it’s worth it for that glossy batter.
- Combine dry and wet:
- Mix in dry ingredients in three parts, alternating with milk, finishing with flour; scrape the bowl gently to avoid any flour pockets.
- Bake:
- Pour batter into the pan, spread it evenly, and tap to pop any bubbles—bake until golden with a springy top, about 30–35 minutes.
- Cool completely:
- Let the cake sit on a wire rack until it’s absolutely cool—warm cake plus frosting equals a melting mess (learned this hard way).
- Buttercream magic:
- Beat butter to creamy, gradually add sifted powdered sugar, then vanilla and milk or cream until smooth and spreadable.
- Tint and divide:
- Separate frosting and tint with school colors and black for the lettering—gel colors work wonders here for keeping it vibrant.
- Decorate:
- Frost the cooled cake smoothly, then pipe borders and carefully pipe out “Class of 2026”; finish with sprinkles if you like.
- Set and serve:
- Chill the cake for 30 minutes in the fridge so every letter holds its shape until the first big slice.
 Save to Pinterest
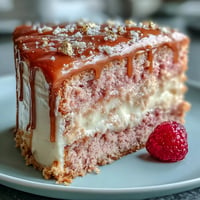
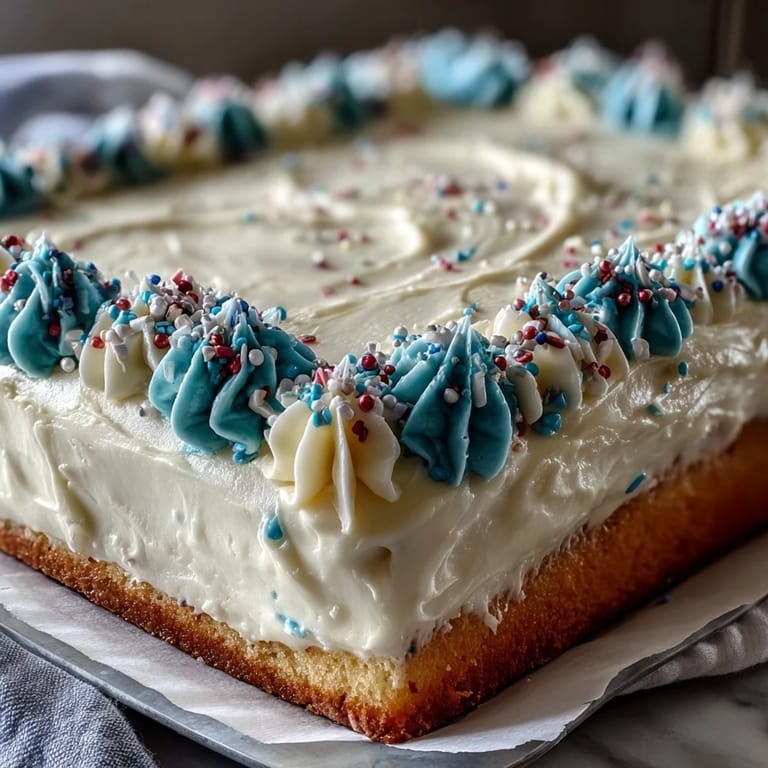
 Watching everyone pose for photos with the cake, even my usually shy aunt hopped into the frame because the Class of 2026 decoration was too perfect not to feature. It was one of those rare desserts that kept conversations lively (and fingers sticky) all afternoon.
Getting That Fluffy Sheet Cake Texture
I learned that room temperature ingredients really are non-negotiable for this cake—a cold egg or milk will cause your butter to seize up and make the texture uneven. Measuring flour with care is also a game-changer; a light hand gave me a tender crumb every time.
Nailing Celebration-Worthy Buttercream
Letting the mixer do half the work and taking your time to add sugar in stages makes the frosting as smooth as bakery versions. One trick: use an offset spatula for spreading, and if you mess up a piped letter, a toothpick can save the day by lifting it cleanly off.
Decorating Like You Mean It
Piping that big bold Class of 2026 took a steady hand and a dash of bravery, but going slowly paid off—letters came out cleaner when I didn’t rush. Keep a damp paper towel nearby for quick tip cleanups and switch out piping tips for different border styles—it makes the whole look more professional.
- Chill the cake briefly to help your piping set.
- Always do a piping practice run on parchment first.
- Don’t let perfection stop you—a few wobbly letters just mean it’s homemade.
 Save to Pinterest
 Here’s to every graduate and every home baker—this cake is more than dessert, it’s a sweet piece of the party. Congratulations to the Class of 2026, and happy baking.
Recipe FAQs
- → How do I achieve a moist cake texture?
Use room temperature ingredients and avoid overmixing the batter to maintain a tender crumb.
- → Can I make the cake in advance?
Yes, bake and frost the cake a day ahead; store covered in the refrigerator and pipe decorations before serving.
- → What food coloring works best for frosting?
Gel food coloring yields vibrant shades without thinning the buttercream, ideal for detailed piping.
- → How can I substitute for a chocolate version?
Swap out 1/2 cup of flour for unsweetened cocoa powder to create a chocolate variation of the cake.
- → What tools do I need for piping decorations?
Piping bags fitted with star and writing tips help create borders and detailed lettering on your cake.
- → How do I store leftovers?
Cover and refrigerate leftover cake for up to four days, ensuring it remains fresh and moist.