Save to Pinterest
 My neighbor Marco handed me a chilled glass of limoncello one summer evening, and I watched the condensation bead on the crystal as he explained it had been sitting in his pantry for three weeks. That first sip—bright, almost effervescent, with a warmth that bloomed across my chest—changed how I thought about homemade spirits. What struck me most was how simple the ingredient list was: lemons, alcohol, sugar, and time. By autumn, I'd filled my own jars with zest and begun the patient work of waiting.
I made a batch during a particularly quiet January, when the kitchen felt especially peaceful on winter mornings. Filling those jars with golden zest and grain alcohol became a small ritual I looked forward to—shaking them gently every couple of days, watching the liquid deepen from clear to pale yellow to something resembling liquid gold. When I finally opened one in April and poured it into my freezer-chilled glasses, my partner tasted it and said nothing for a long moment, which somehow meant everything.
Ingredients
- Unwaxed organic lemons (8 large): Waxed lemons will leave a waxy, unpleasant flavor in your alcohol, so this is non-negotiable—seek them out at farmers markets or specialty grocers if your regular store doesn't carry them.
- Pure grain alcohol, 95% (750 ml): This is the backbone of the recipe; if you can't find food-grade grain alcohol, 100-proof vodka works as a substitute, though the final flavor will be slightly less pure and bright.
- Water (600 ml): Use filtered or bottled water if your tap water is heavily chlorinated, as it will affect the delicate lemon notes.
- Granulated sugar (400 g): This quantity creates a balanced sweetness, but taste as you go and adjust to your preference—some prefer it drier, others creamier.
Tired of Takeout? 🥡
Get 10 meals you can make faster than delivery arrives. Seriously.
One email. No spam. Unsubscribe anytime.
Instructions
- Prepare the lemons with care:
- Hold each lemon under hot running water and scrub it gently with a soft brush or cloth to remove any dirt, dust, or residual wax coating. Pat them completely dry with a clean towel before you begin zesting—any excess moisture will dilute your infusion.
- Remove the zest with precision:
- Using a sharp vegetable peeler, work your way around each lemon in thin strips, removing only the bright yellow outer layer. Stop as soon as you hit the white pith underneath, which tastes bitter and will ruin the clean, citrusy flavor you're after.
- Combine zest and alcohol:
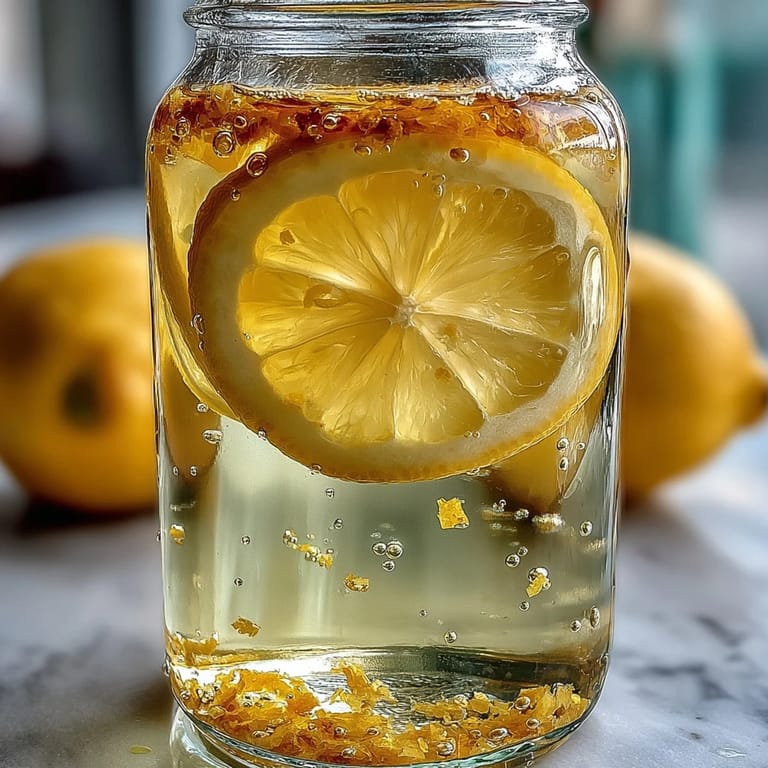
- Place all your zest strips into a large, spotlessly clean glass jar and pour the grain alcohol over them, making sure every piece is submerged. Seal the jar tightly and store it in a cool, dark cupboard away from direct sunlight.
- Let time do the work:
- This is the hardest part—waiting. Shake the jar gently every two days to redistribute the oils, but otherwise, just let it sit. Ten days will give you a delicate flavor, while thirty days yields something richer and more complex.
- Make the simple syrup:
- In a saucepan over low to medium heat, combine your water and sugar, stirring occasionally until the sugar completely dissolves. You'll hear the gentle clink of the spoon against the pan and eventually smell the faint sweetness of dissolved sugar—this takes about five to eight minutes.
- Cool and strain:
- Remove the syrup from heat and let it cool to room temperature—this matters because adding hot syrup to your delicate infusion can muddy the flavor. While it cools, line a fine mesh strainer with cheesecloth and carefully pour your lemon-alcohol mixture through it, letting gravity do the work and collecting the beautiful pale liquid in a clean bowl.
- Marry the components:
- Pour your strained lemon infusion into a clean glass bowl or pitcher, add the cooled syrup, and stir gently to combine. The mixture should be perfectly homogeneous and clear.
- Bottle and rest:
- Pour the limoncello into sterilized bottles using a small funnel and seal them tightly. Store in a cool place and resist the urge to taste it for at least seven days—the flavors need time to settle and harmonize.
- Serve like an Italian:
- Keep your bottles in the freezer and pour into small, chilled glasses straight from there. The cold makes the limoncello syrupy and luxurious on your tongue.
 Save to Pinterest
 There's something almost meditative about this recipe—the way each step unfolds slowly, how it teaches patience without demanding constant attention. A friend once told me she drank it at a wedding years after I'd given her the bottle, and that small story meant more to me than any compliment about the taste.
Choosing Your Lemons Wisely
The most crucial decision you'll make is at the market, staring at the lemon display. Organic, unwaxed lemons should feel heavy for their size, with thin, bright yellow skin and no soft spots or blemishes. If your grocer doesn't carry them consistently, consider asking the produce manager to source them or visiting a farmers market where growers can tell you exactly how their fruit was treated. The flavor difference between a waxed supermarket lemon and a proper farmers market specimen is startling—it's not just about safety, it's about capturing that perfect sunny brightness that makes limoncello so special.
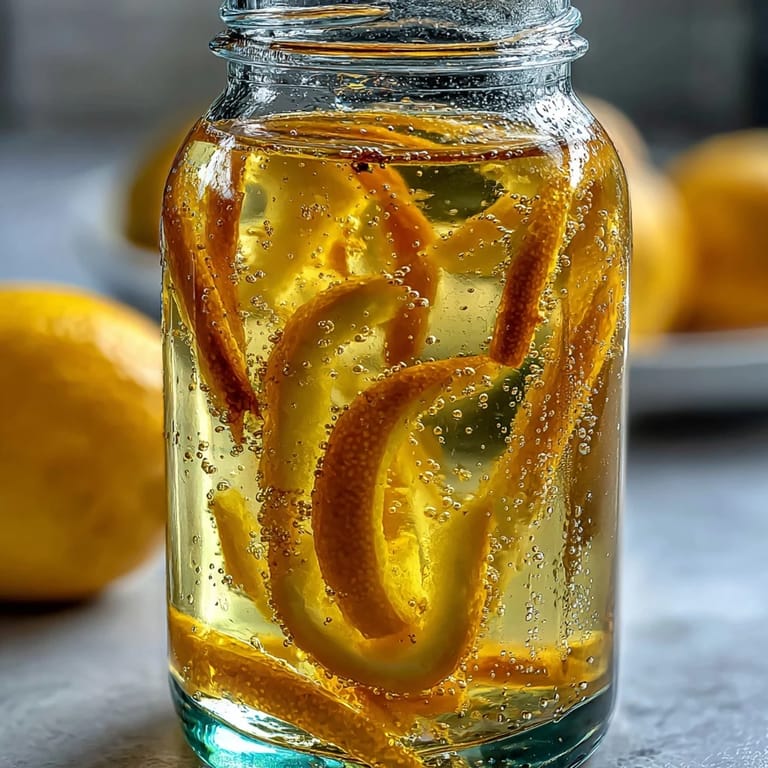
The Infusion Timeline and What to Expect
Ten days gives you a delicate, almost floral limoncello; twenty days lands in the sweet spot of balance; thirty days produces something deeper and more intense. After three or four days, you'll notice the alcohol has turned a pale greenish-yellow as the essential oils from the zest begin leaching out. By day seven, it deepens to golden, and by day fourteen, it's a proper pale yellow. Don't obsess over opening the jar daily to check—the less you disturb it, the cleaner the final product. Each infusion is slightly different depending on the lemons themselves, humidity, temperature, and room light, so keep notes on your batch so you can dial in your perfect timeline next time.
Customizing Your Batch and Storing for Longevity
Once you've made one batch, you'll want to experiment. Some people prefer a drier limoncello by reducing the sugar to 350 grams; others add a split vanilla bean or a few cloves to the infusing zest. Meyer lemons, if you can find them, create a more floral, almost honey-like version. Properly sealed and stored in a cool, dark place—or frozen—limoncello keeps for years, actually improving slightly as it ages. Bottles in dark glass protect it best from light, and the alcohol content acts as its own preservative, so you never have to worry about spoilage the way you would with other homemade drinks.
- Label your bottles with the date and lemon variety so you remember what you made and when.
- A handwritten tag or ribbon transforms a regular bottle into a gift-worthy present.
- Always serve it ice-cold straight from the freezer for the most authentic experience.
 Save to Pinterest
 Making limoncello is less about creating a perfect product and more about creating a perfect moment—that first sip in summer, that conversation it sparks at a dinner table, that instant when someone you've given it to tastes something you made with your own hands and smiles. Everything else is just beautiful details.
Recipe FAQs
- → What type of lemons should I use?
Use unwaxed organic lemons for the freshest zest and best flavor without chemical residues.
- → Can I substitute grain alcohol with something else?
Yes, high-quality 100-proof vodka is an excellent alternative if pure grain alcohol is unavailable.
- → How long should the infusion last?
Infuse the lemon zest in alcohol for 10 to 30 days, shaking gently every two days for optimal flavor extraction.
- → Can I adjust the sweetness level?
Absolutely. Alter the sugar amount in the syrup to create a sweeter or drier finish according to your preference.
- → How should I serve the finished liqueur?
Serve it well-chilled, straight from the freezer, in small glasses to enjoy its crisp, vibrant notes.
- → Is this suitable for special diets?
Yes, the liqueur is vegan and gluten-free, but always check your alcohol source if gluten sensitivity is a concern.